The art of self-tanning is fastidious and one that requires patience, precision and most importantly an exceptionally good formula. And, of course, it’s far better for you and your skin if you resist the urge to sunbathe.
With summer now in full swing, we’ve pooled our collective experience (faux pas included) and put together the definitive guide to a flawless glow that’s better than the real thing.
Get ready for gloriously golden skin — minus the mess.
Step 01. Get Prepped
The biggest mistake you can make when fake tanning at home is not spending the time to prep your skin properly. The best results come when the skin is as smooth and hydrated as possible.
Start with a good and proper exfoliation — this will remove dead skin cells and ensure the tan absorbs evenly. The best way to do this is with a vigorous dry body brush that really gets the job done perfectly. This not only buffs away dead skin cells, it also smooths the skin, boosts circulation, helps minimise cellulite and stimulates lymphatic drainage. It’s incredibly good for you and excellent for the health and texture of your skin.
Next, rinse off any dry skin in the shower and if you need a little extra exfoliation, use an oil free body scrub. This will buff, smooth and prime skin perfectly, especially on those notoriously rough patches like your knees, elbows and ankles — all those little areas where fake tan likes to collect and stain.
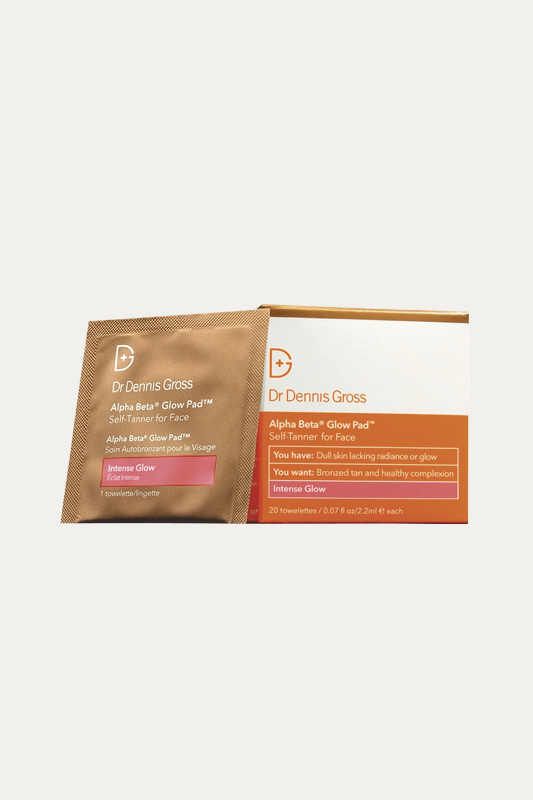
Be wise with your product selections here. It’s important to use oil-free solutions, as oil-based scrubs and cleansers leave behind a residue that interferes with the efficacy of the tanners and can cause streaks too. And, if you’re tanning your face, the same rules apply — be sure to exfoliate with a cleanser or pad that includes some exfoliating acids to slough away dead and dull skin, and encourage even absorption.
Step 02. Moisture Musts
The most common cause of a patchy tan is dry skin, so it’s crucial to moisturise those notoriously tricky areas prior to application. Focus on wrists and hands, elbows, knees, ankles and feet — and perhaps even around your nostrils if you’re face tanning.
It’s a good idea to wait at least 10 minutes after showering until you are completely dry, then use a lightweight lotion for your face. For the body, opt for a super lightweight and nourishing formula that quickly absorbs and won’t mess with your tan. This will keep those areas from turning too dark or that nasty unwanted orange.
Step 03. The Art of Application
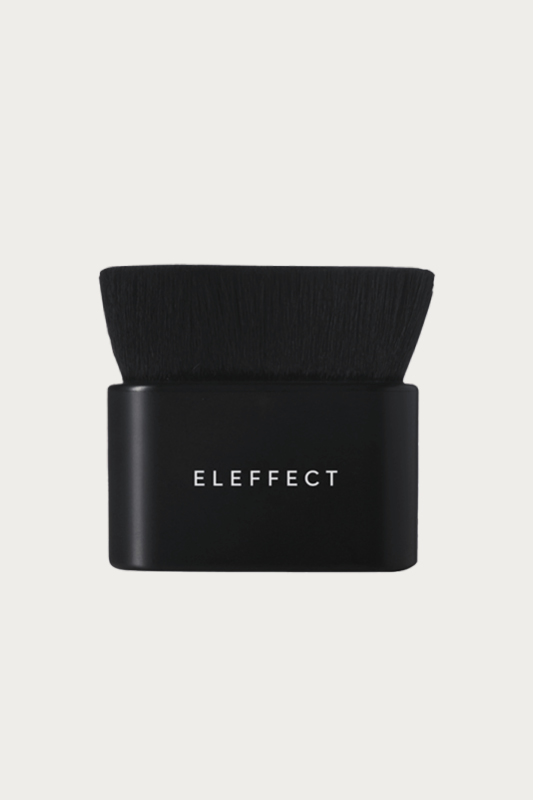
Always apply with a tanning mitt or brush!
Smooth on product in circular motions, blending and buffing the tan deeper into the epidermis. The more you buff and work the product into your skin, the better, this ensures a more even and streak-free finish, helps to prolong the tan and encourages a better fade-out.
When applying, it’s best to use small amounts of the product each time — starting with your feet and ankles, working your way up to your shoulders to prevent any marks when you bend over. Save your arms and hands for last and try not to race to wash your hands, just blend it gradually with your wrists and arms, as you don’t want white hands with bronzed arms.
Step 04. Prolong Perfectly
Once your tan has been applied, ensure skin is hydrated during the days that follow as hydrated skin will look more radiant and will ensure a more even fade.
As oil breaks down your tan, opt for a hyaluronic-based body moisturiser and avoid any enzymatic body and skincare such as glycolic or lactic acids, as these can accelerate the fade time of tan.
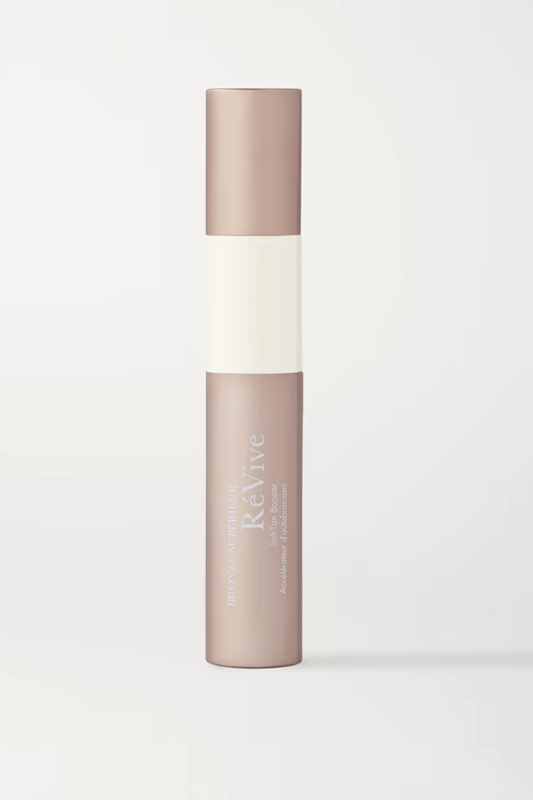
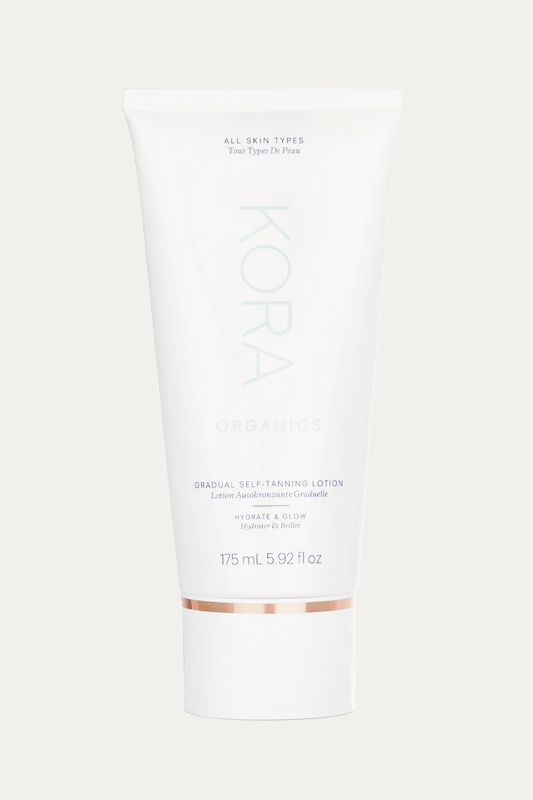
To prolong your tan even longer, apply a gradual tan. This will simultaneously hydrate skin as well as ‘top up’ your tan with a gradual buildable tan for a prolonged golden tone that perfectly achieves that natural summer glow.
Shop The Edit
